Linux
Linux is the most widely used Operating System for penetration testing purposes. Therefore, we must be very familiar with it. If we have to prepare an operating system, it is best to develop a certain standard for it that always leads to the same setup we are used to.
Suppose we are asked to perform a penetration test to test both the network's internal and external security. Therefore, if we have not prepared a system in advance, we should do it now at the latest. Otherwise, we will lose valuable time during the penetration test that we could have used to test the different components of the network instead of configuring and installing various tools. However, before we prepare a system, we need to look at the available penetration testing distributions.
Penetration Testing Distributions
There are many different distributions that we can use, all of which have different advantages and disadvantages. Many people ask themselves which system is the best. Nevertheless, what many do not understand is that it is a personal decision. This means that it depends a lot on our own needs and desires, which is the best for us. The tools installed on these operating systems can be installed on pretty much any distribution, so we should instead ask ourselves what we should expect from this Linux distribution for penetration testing. The best penetration testing distributions are characterized by their large and active community and comprehensible and detailed documentation. Among the most popular include, but not limited to:
In this case, we will deal with ParrotOS Security as our penetration testing distribution of choice.
VM Setup
Before installing our ParrotOS Security operating system, we need to create a VM (in VMware Workstation in this example). Here we also specify which installation file will be used for the operating system (.iso file).
ParrotOS ISO
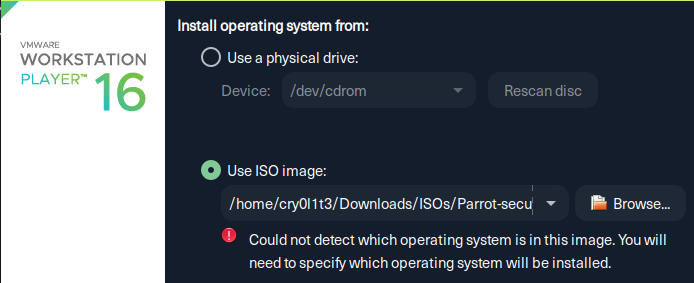
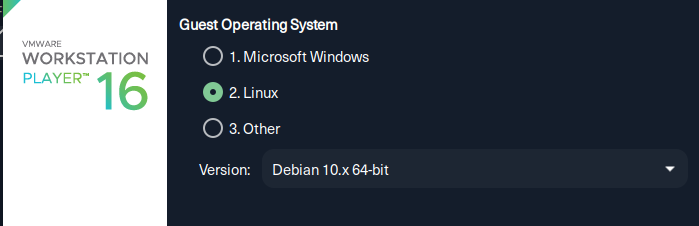
Since VMware does not know all operating systems, it may be that the system will not be recognized. Therefore, we have to specify which distribution the system we want to install is based upon in the next step. In the case of ParrotOS, this is a Debian-based operating system.
OS Base
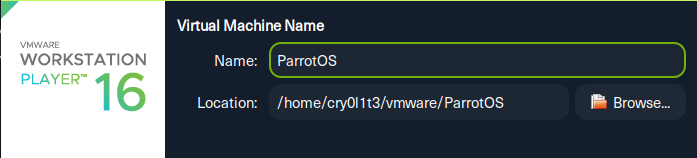
After that, we assign a name for the VM with the label we want to have for it and then set the path where it will be stored.
OS Name & Location Path
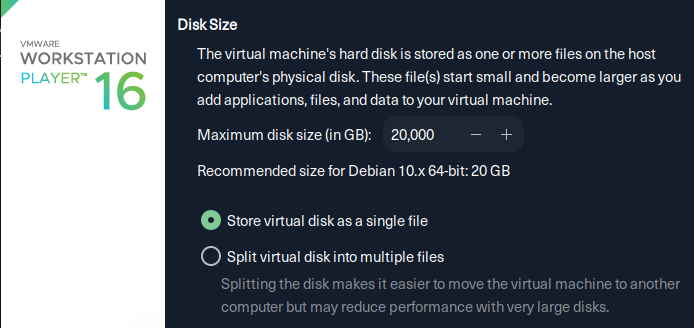
After that, we can set the maximum size of the VM. Here it is recommended to set the size larger than 20 GB because the VM will not be equal to the size we set but will grow with the packages and applications we install during setup and regular usage. It is also recommended to save the VM in a single file and not split it into several to make moving the VM easier in the future if necessary.
OS Size
ParrotOS Installation
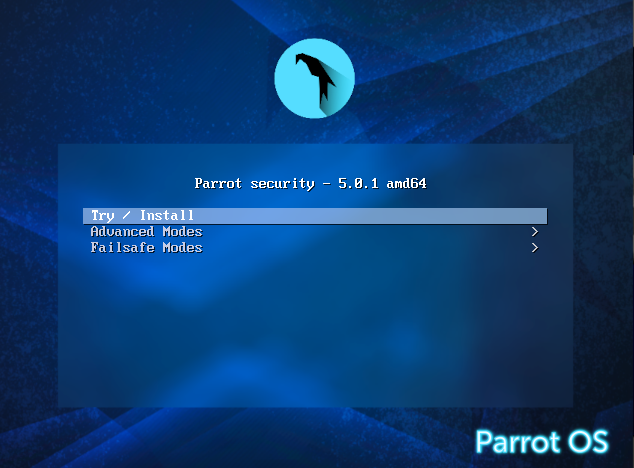
Once we have created our VM, we can start it and get to the GRUB menu to select our options. Since we want to install ParrotOS, we should select this option. Once we click on the VM window, our mouse will be trapped there. This means that our mouse cannot leave this window. To move the mouse freely again, we have to press [CTRL] + [ALT] (in most cases). However, we should verify this key combination in the VMware Workstation window under Edit > Preferences > Hot Keys.
Note: We can design all the steps according to our needs. However, we should stick to the given selection for uniformity in the steps shown to get the same result.
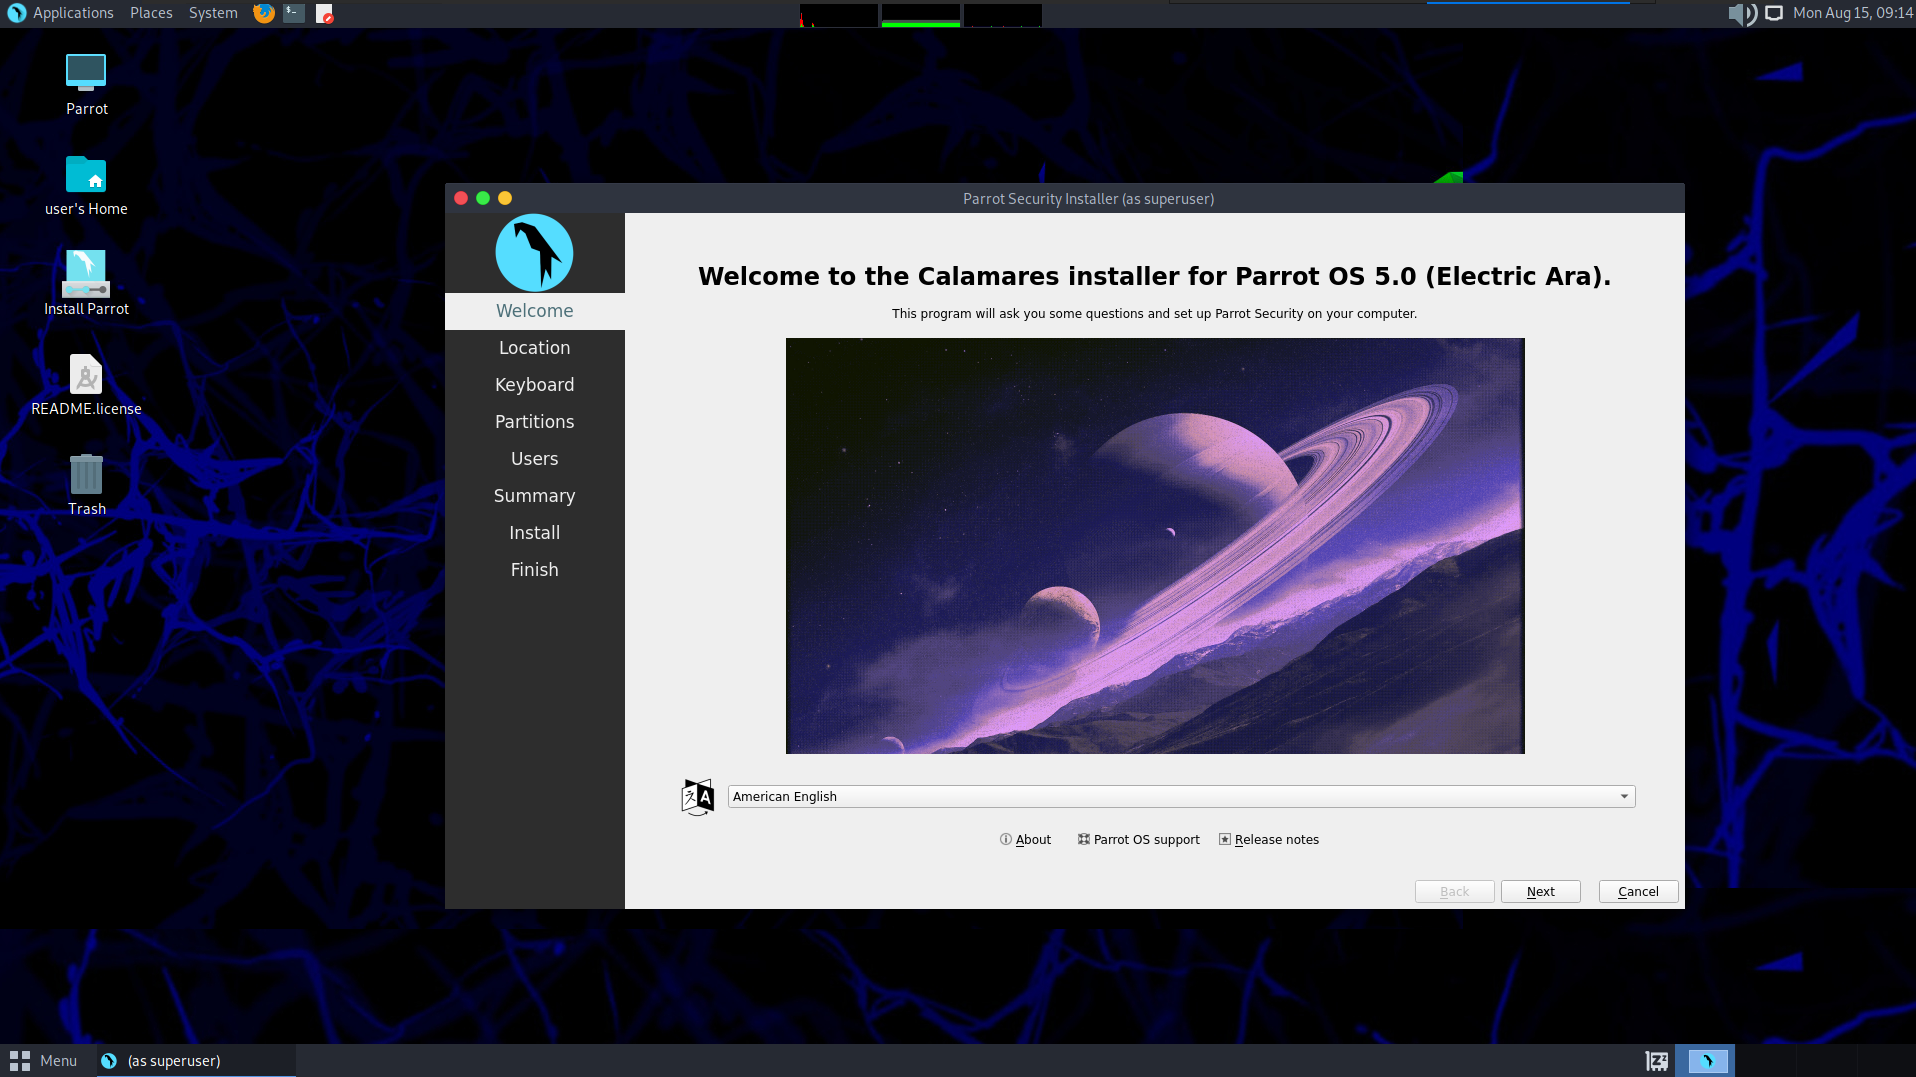
Once the installation procedure starts, we are asked to select our settings for language, location, keyboard, and how we want to partition it.
Since we want to encrypt our data and information on the VM using Logical Volume Manager (LVM), we should select the "Encrypt system" option. It is also recommended to create a Swap (no Hibernate) for our system.
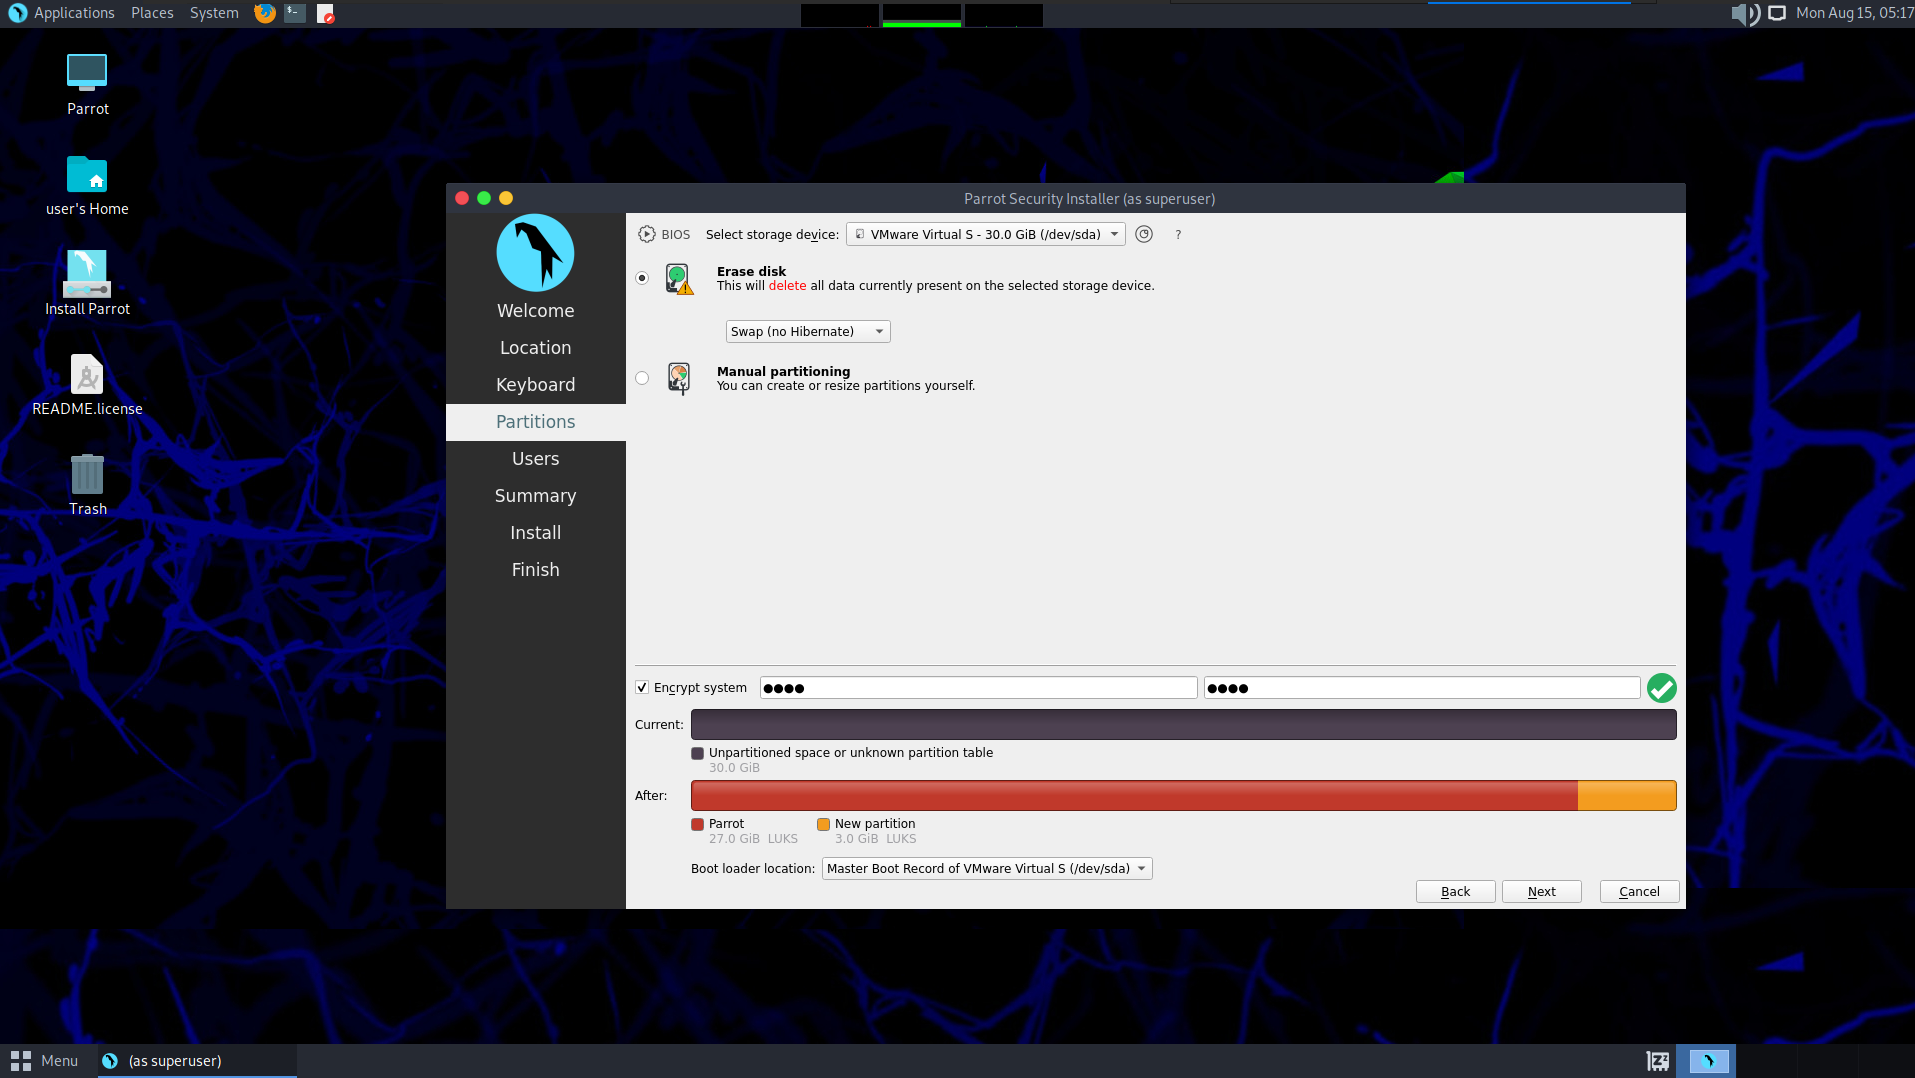
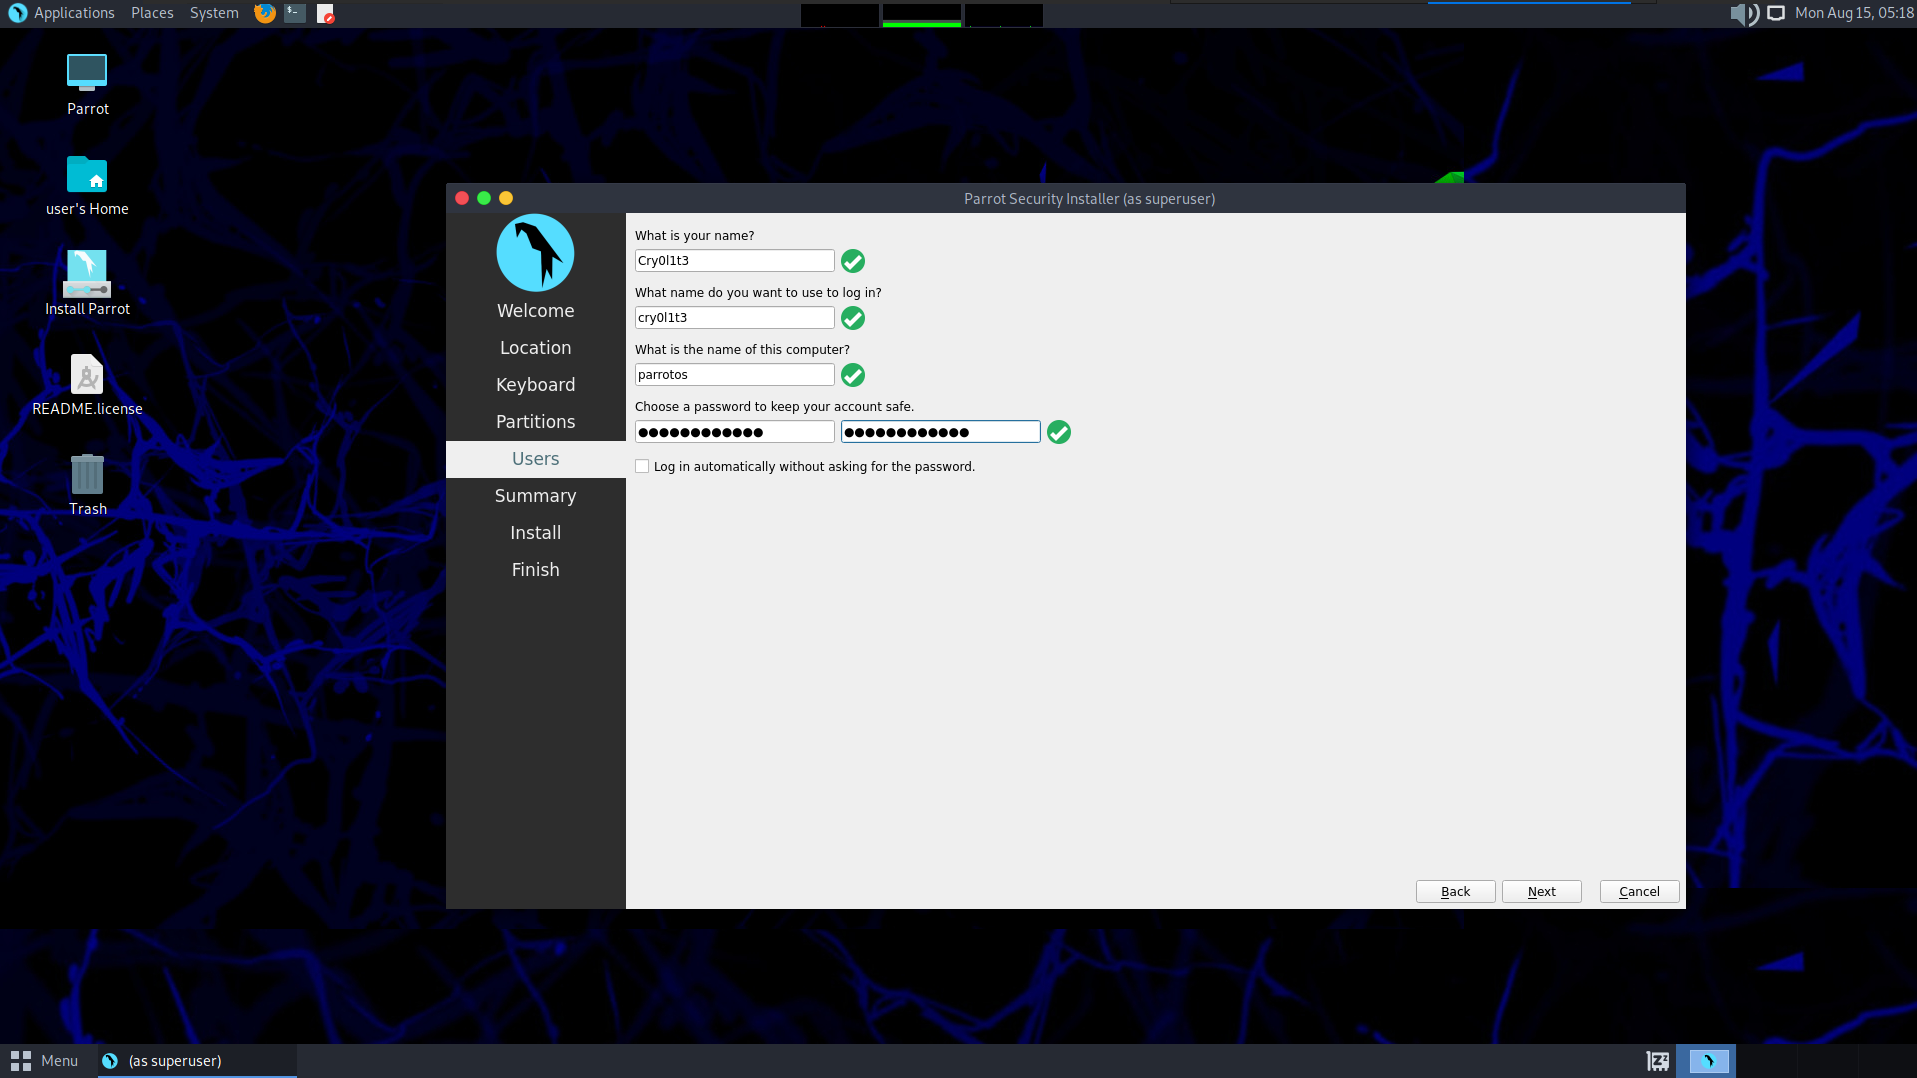
LVM is a partitioning scheme mainly used in Unix and Linux environments, which provides a level of abstraction between disks, partitions, and file systems. Using LVM, it is possible to form dynamically changeable partitions, which can also extend over several disks. After that we will be asked to specify our username, hostname and a password.
Once we have made all our required entries, we can confirm them and start configuring LVM.
LUKS Encryption
LVM is an additional abstraction layer between physical data storage and the computer's operating system with its logical data storage area and the file system. LVM supports the organization of logical volumes in a RAID array to protect computers from individual hard disk failure. Unlike RAID, however, the LVM concept does not provide redundancy. It has been present in almost all Unix and Linux distributions but also for other operating systems. Windows or macOS also have the concept of LVM but use different names for it like Storage Spaces (Windows) or CoreStorage (macOS).
Once we get to the partition disk step, we will be asked for an encryption passphrase for encryption and decryption. We should keep in mind that this passphrase should be very strong, and we should use a password manager of our choice to store it. We will then have to enter this passphrase again to make sure that we did not make a mistake when we first entered it.
LVM Passphrase

After selecting the passphrase and confirming it, we will get an overview of all the partitions that have been created and configured. We will have other options available to us, as listed above. If we do not want to make any further configurations, we can now finish partitioning and let the changes be written accordingly.
Now the operating system's installation takes place, and as soon as this is finished, the VM is restarted. After the restart, we get a window that asks us for our passphrase to unlock the system.
LVM Unlock Partition
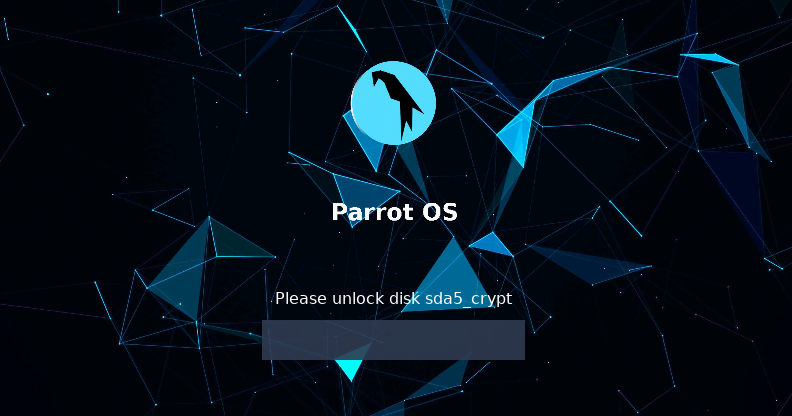
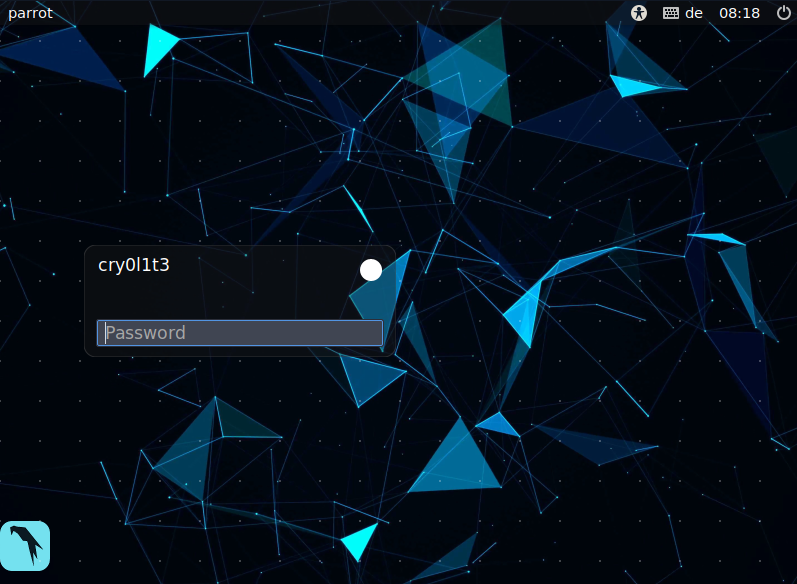
If we have entered the passphrase correctly, then the operating system will boot up completely, and we will be able to log in. Here we enter the password for the username we have created.
First Login
Updates & APT Package Manager
Now that we have installed the operating system, we need to bring it up to date. For this, we will use the APT package management tool. The Advanced Packaging Tool (APT) is a package management system that originated in the Debian operating system that uses dpkg for actual package management. The package manager is used for package management. This means that we can search, update, and install program packages. APT uses repositories (thus package sources), which are deposited in the directory /etc/apt/sources.list (in our case for ParrotOS: /etc/apt.sources.list.d/parrot.list).
ParrotOS Sources List
Linux
┌─[cry0l1t3@parrot]─[~]
└──╼$ cat /etc/apt/sources.list.d/parrot.list# parrot repository# this file was automatically generated by parrot-mirror-selectordeb https://deb.parrot.sh/parrot/ rolling main contrib non-free
#deb-src https://deb.parrot.sh/parrot/ rolling main contrib non-freedeb https://deb.parrot.sh/parrot/ rolling-security main contrib non-free
#deb-src https://deb.parrot.sh/parrot/ rolling-security main contrib non-free
Here the package manager can access a list of HTTP and FTP servers and obtain and install the corresponding packages from there. If packages are searched for, they are automatically loaded from the list of available repositories. Since program versions can be compared quickly under APT and can be loaded automatically from the repositories list, updating existing program packages under APT is relatively easy and comfortable.
Updating ParrotOS
Linux
┌─[cry0l1t3@parrotos]─[~]
└──╼$ sudo apt update -y && sudo apt full-upgrade -y && sudo apt autoremove -y && sudo apt autoclean -y[sudo] password for cry0l1t3:

Hit:1 https://deb.parrot.sh/parrot rolling InRelease
Hit:2 https://deb.parrot.sh/parrot rolling-security InRelease
Reading package lists... Done
Building dependency tree
Reading state information... Done
2310 packages can be upgraded. Run 'apt list --upgradable' to see them.
Reading package lists... Done
Building dependency tree
Reading state information... Done
Calculating upgrade... Done
The following packages were automatically installed and are no longer required:
  cryptsetup-nuke-password dwarfdump
  ...SNIP...
Tools List
Linux
┌─[cry0l1t3@parrotos]─[~]
└──╼$ cat tools.listnetcat
ncat
nmap
wireshark
tcpdump
hashcat
ffuf
gobuster
hydra
zaproxy
proxychains
sqlmap
radare2
metasploit-framework
python2.7
python3
spiderfoot
theharvester
remmina
xfreerdp
rdesktop
crackmapexec
exiftool
curl
seclists
testssl.sh
git
vim
tmux
If there are only a few packages that we want to install, we can enter them manually in the following command.
Installing Additional Tools
Linux
┌─[cry0l1t3@parrotos]─[~]
└──╼$ sudo apt install netcat ncat nmap wireshark tcpdump ...SNIP... git vim tmux -y[sudo] password for cry0l1t3:

Reading package lists... Done
Building dependency tree
Reading state information... Done
The following packages were automatically installed and are no longer required:
  libarmadillo9 libboost-locale1.71.0 libcfitsio8 libdap25 libgdal27 libgfapi0
  ...SNIP...
However, if the list contains more than just five packages, we should always create a list and keep it updated. With the following command, we will install all the tools from the list at once using APT.
Installing Additional Tools from a List
Linux
┌─[cry0l1t3@parrotos]─[~]
└──╼$ sudo apt install $(cat tools.list | tr "\n" " ") -y[sudo] password for cry0l1t3:

Reading package lists... Done
Building dependency tree
Reading state information... Done
The following packages were automatically installed and are no longer required:
  libarmadillo9 libboost-locale1.71.0 libcfitsio8 libdap25 libgdal27 libgfapi0
  ...SNIP...
Using Github
We will also come across tools that are not found in the repositories and therefore have to download them manually from Github. For example, we are still missing specific tools for Privilege Escalation and want to download the Privilege-Escalation-Awesome-Scripts-Suite. We can do that using the following command:
Clone Github Repository
Linux
┌─[cry0l1t3@parrotos]─[~]
└──╼$ git clone https://github.com/carlospolop/privilege-escalation-awesome-scripts-suite.gitCloning into 'privilege-escalation-awesome-scripts-suite'...
remote: Enumerating objects: 29, done.
remote: Counting objects: 100% (29/29), done.
remote: Compressing objects: 100% (17/17), done.
remote: Total 5242 (delta 18), reused 22 (delta 11), pack-reused 5213
Receiving objects: 100% (5242/5242), 18.65 MiB | 5.11 MiB/s, done.
Resolving deltas: 100% (3129/3129), done.
List Contents
Linux
┌─[cry0l1t3@parrotos]─[~]
└──╼$ ls -l privilege-escalation-awesome-scripts-suite/total 16
-rwxrwxr-x 1 cry0l1t3 cry0l1t3 1069 Mar 23 16:41 LICENSE
drwxrwxr-x 3 cry0l1t3 cry0l1t3 4096 Mar 23 16:41 linPEAS
-rwxrwxr-x 1 cry0l1t3 cry0l1t3 2506 Mar 23 16:41 README.md
drwxrwxr-x 4 cry0l1t3 cry0l1t3 4096 Mar 23 16:41 winPEAS
Snapshot
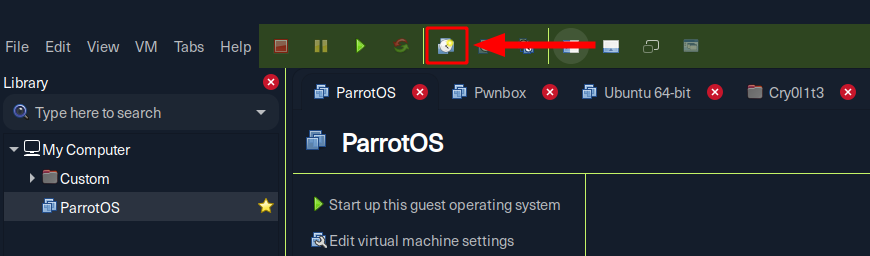
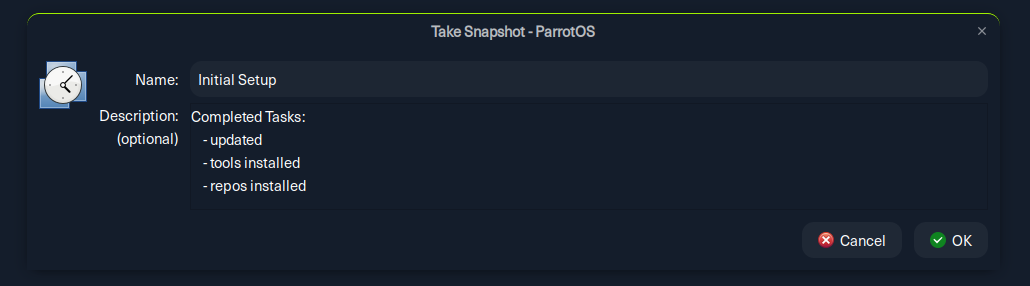
After installing all known and relevant packages and repositories, it is highly recommended to take a VM snapshot. In the following steps, we will make changes to specific configuration files. If we are not careful, this can make parts of the system or even the entire system unusable. We do not have to repeat all our previous steps, and we should now create a snapshot and name it "Initial Setup".
Nevertheless, before we create this snapshot, we should shut down the OS. This will significantly reduce the time required to create the snapshot. Otherwise, the snapshot will be taken from a running system that we will return to when we return to it.
If we break the system in some way while performing subsequent configuration steps we can revert back to a good, known, working copy. A snapshot (powered off) should be taken after every major configuration stage. It is also a good idea to periodically take a VM snapshot during a penetration test in case something goes wrong.
Create a Snapshot
Completed Tasks
Terminal Adjustment
Now that we have created a snapshot and can work with our configurations, let us look at our terminal environment. Many different terminal emulators emulate the actual command line input we use to enter and execute the system's commands. The one that is the best for us depends on many personal desires and expectations. Here is a small list of very popular terminal emulators:
A very efficient alternative, which can also be used as an extension, is Tmux. Tmux is a terminal multiplexer that allows creating a whole shell session with multiple windows and subwindows from a single shell window. As we know, started processes abort when the terminal session or SSH connection disappears. Tmux's console keeps the process alive by working with sessions. For example, if we are connected to a constantly running server in this way, we can close the terminal or shut down the computer on the local client without terminating the Tmux session. If we log back into the remote server via SSH, we can view the existing sessions and rejoin the desired session.
Ippsec has also created a short video where he introduced Tmux. There he explains some advantages of Tmux and shows with examples how he works with it. We will see his approach in all his videos.
Ippsec - Tmux
Another handy component that we should adapt to our needs is the Bash prompt. The Bash Prompt Generator makes it very easy for us to design our bash prompt the way we want it to be displayed. For our penetration tests, it is crucial to have the order of the given commands to configure our Bash prompt to display timestamps.
Customize Bash Prompt
Linux
┌─[cry0l1t3@parrotos]─[~]
└──╼$ cp .bashrc .bashrc.bak┌─[cry0l1t3@parrotos]─[~]
└──╼$ echo 'export PS1="-[\[$(tput sgr0)\]\[\033[38;5;10m\]\d\[$(tput sgr0)\]-\[$(tput sgr0)\]\[\033[38;5;10m\]\t\[$(tput sgr0)\]]-[\[$(tput sgr0)\]\[\033[38;5;214m\]\u\[$(tput sgr0)\]@\[$(tput sgr0)\]\[\033[38;5;196m\]\h\[$(tput sgr0)\]]-\n-[\[$(tput sgr0)\]\[\033[38;5;33m\]\w\[$(tput sgr0)\]]\\$ \[$(tput sgr0)\]"' >> .bashrc
Customized Bash Prompt
Linux